| |
| |
xxeserverXXE_INSTALL_DIR/web/bin/,
XXE_INSTALL_DIR being the directory where XMLmind
XML Editor Web Edition (XXEW for short) has been
installed.xxeserver.bat (Windows) or
xxeserver (Mac, Linux shell script).C:\...\web\bin> xxeserver.bat
xxeserver should run fine on any
platform supporting Java™ 11+.
TipThe Windows .zip
distribution and the Mac .tar.gz distribution contain a
private copy of the most recent version of the Java runtime.
Therefore, there is generally no need to install Java on the
computer running
xxeserver. |
NoteIf
xxeserver does not start, please refer to Troubleshooting:
xxeserver does not start. |
xxeserver is mainly a WebSocket xxeserver does not support
secure connections (https://, wss:// URLs) and
listens to HTTP and WebSocket requests on port 18078. Of course,
these simple settings can be changed. See Chapter 7. xxeserver command-line options.Ctrl-C in the
command prompt or terminal to stop xxeserver.xxeserver(1).
ImportantAt the time of this
writing only very recent Blink-based browsers like Google
Chrome or Microsoft Edge and Gecko-based browsers like Firefox are
supported. Apple Safari, which uses the WebKit engine, is currently
not supported.
We recommend using Google Chrome or Microsoft
Edge because these browsers currently have the best support for
editing local files and for integrating the system clipboard with the
XML editor.
|
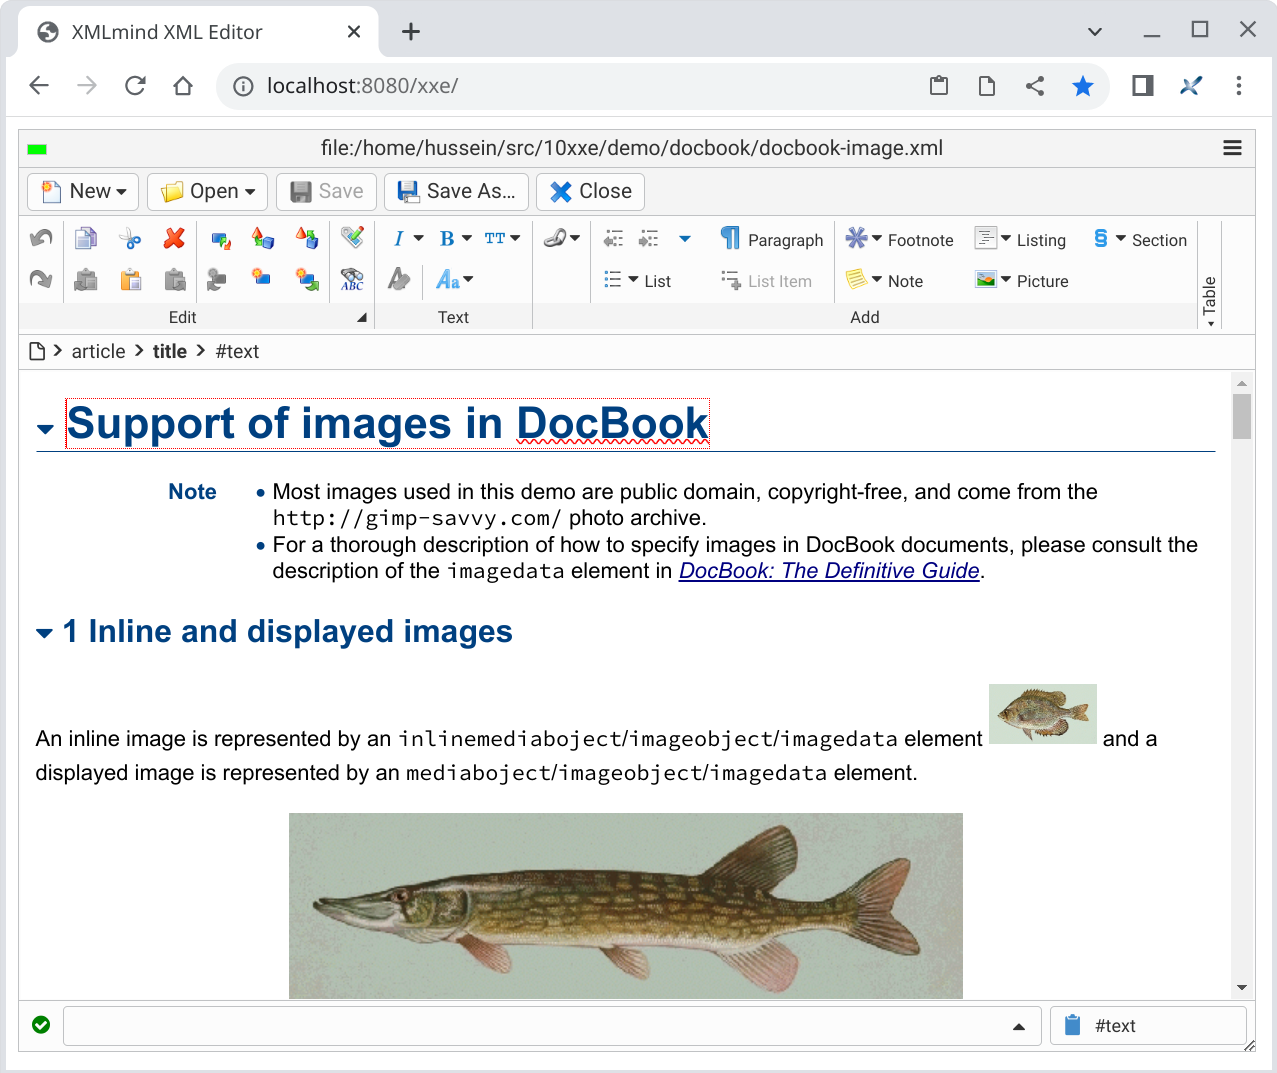
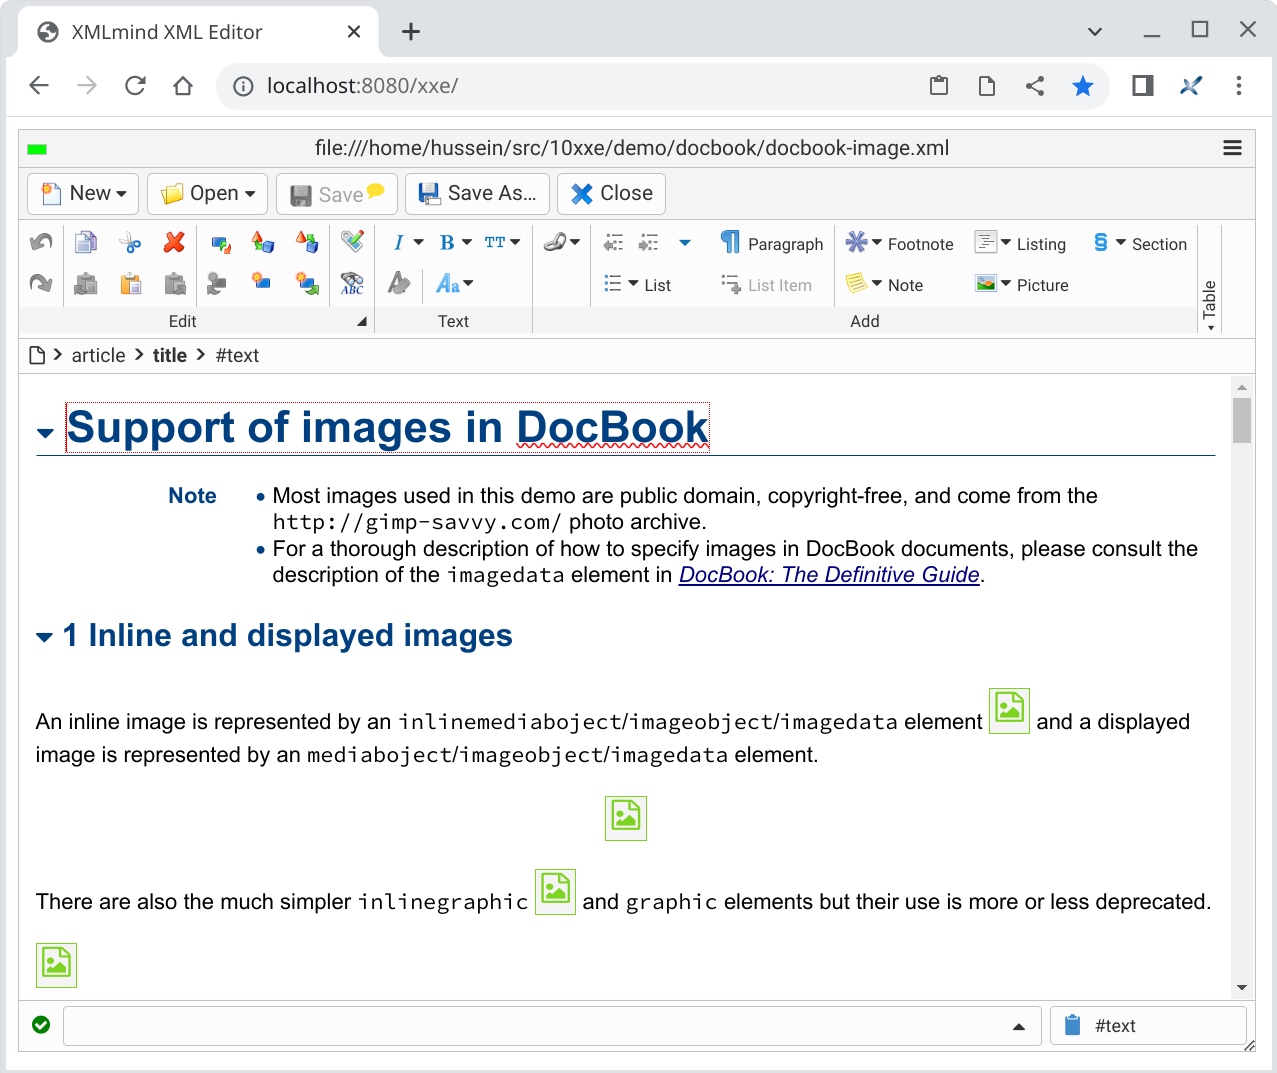
<xxe-client> is now ready to
use.<xxe-client>
NoteIf the sample XML editor application does not load or
does not work, please refer to Troubleshooting: the sample XML
editor web application does not work.
|
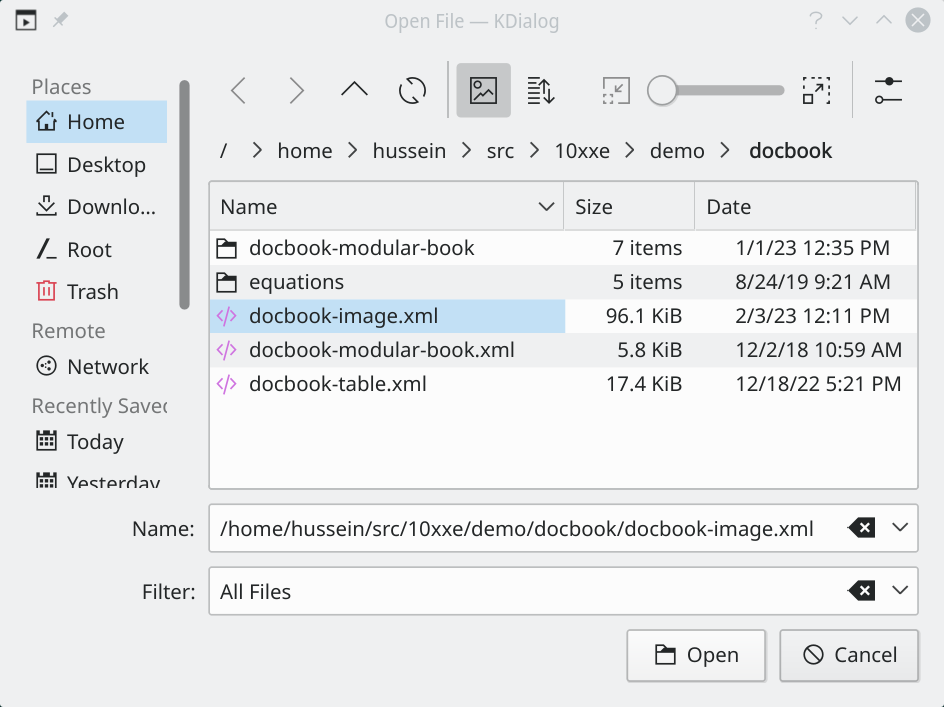
xxeserver. These are
called remote files.xxeserver command-line options. In the case of this quick demo,
XXEW has a read-write access to any file found in the home
directory of the user who started
xxeserver.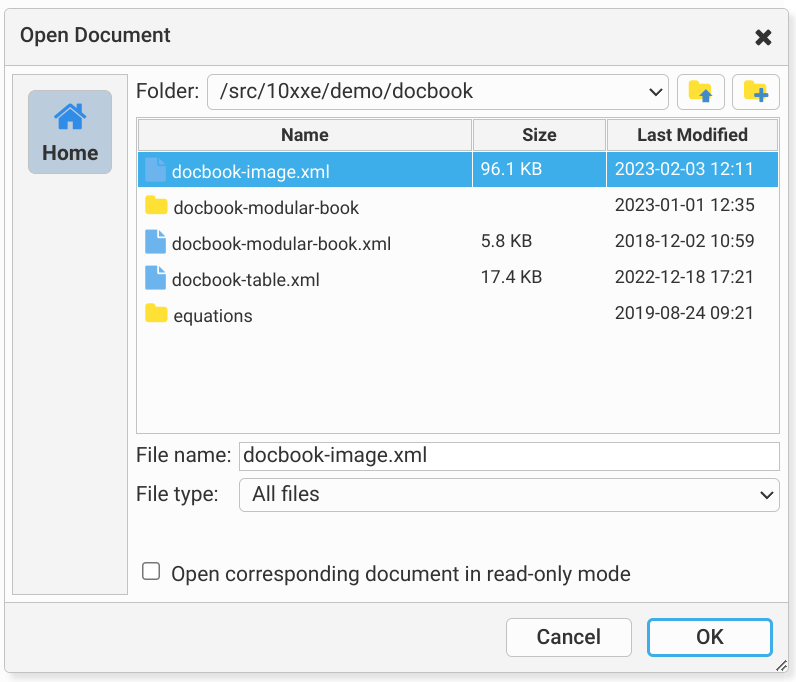

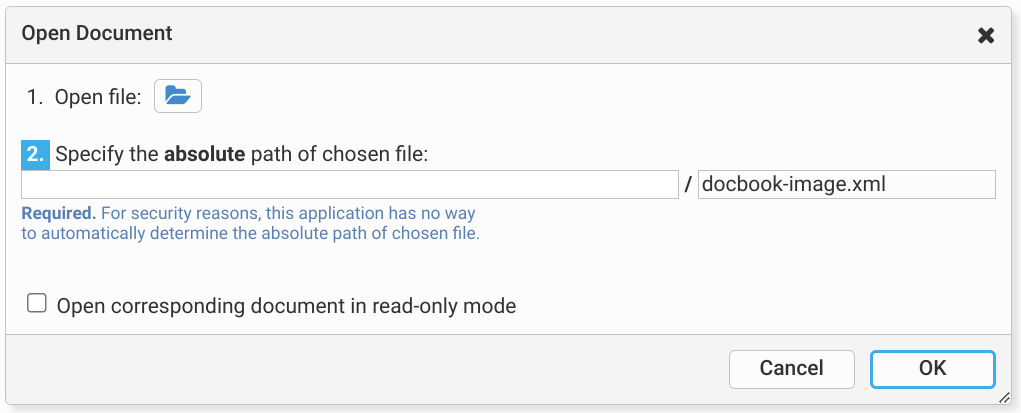
/home/…/demo/docbook" in this
example). On some web browsers, notably when saving a document,
you'll also have to type the name of selected file
("docbook-image.xml" in this example). The
corresponding document is opened in the XML editor.
RememberWhen you
insert an image into a document opened as a local file, you'll be
able to see the inserted image. However, because the web browser
gives web applications very limited access to the local file
system, if you close the document and then reopen it, the newly
inserted image is now represented by
A possible workaround is to embed
the image in the document rather than simply reference its file.
(XXEW lets you do this quite easily.) However, you must
keep in mind that embedding images may create huge XML files and
also may cause XML interchange problems.
|
| (1) | Please remember that this is nothing more than just a quick, 5 minutes demo. It's by no means a real world use case. |
| (2) | The file paths and file names you type in this dialog box are remembered across editing sessions. This means that you can pick file paths and file names from the text field autocompletion lists rather than type the same values over and over. |
| |